
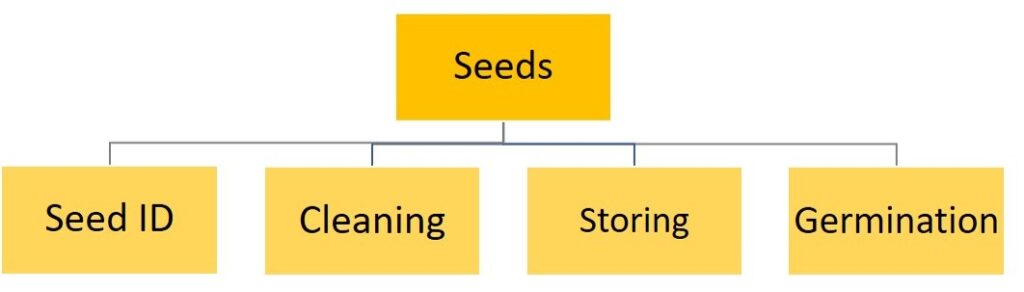
Pod #1 – Seeds

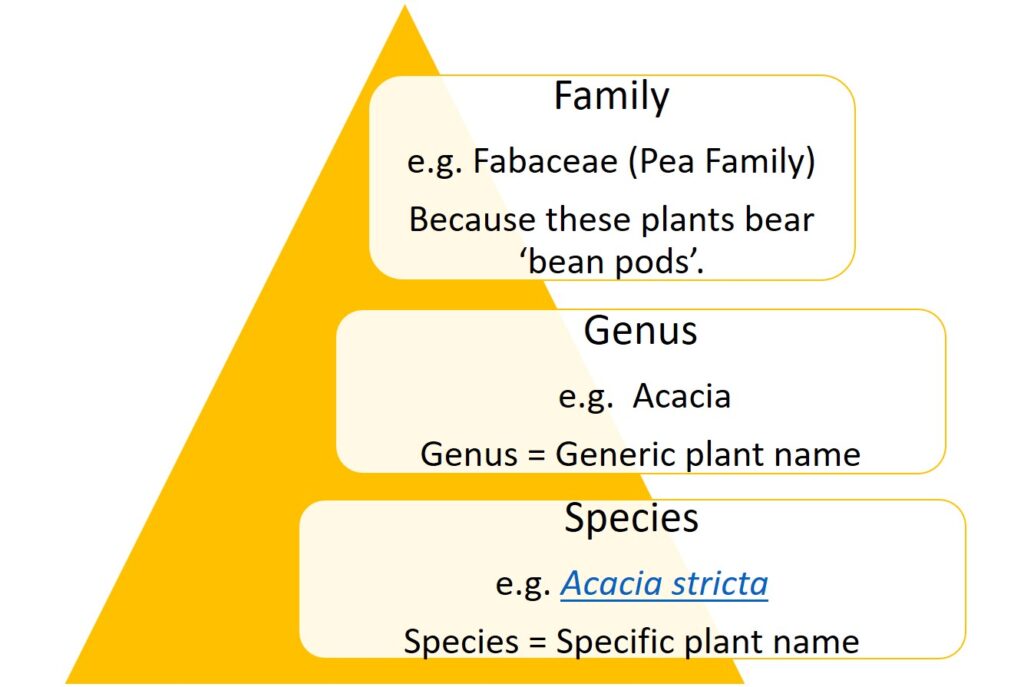
- Genus (plural genera) – In botanical classification, the main rank between family and species. A taxonomic group of one or more *species (see below) that resemble each other more than they resemble other groups e.g. Acacia.
- Species – The fundamental unit of botanical classification, comprising a group of individuals that is distinguishable from all other closely related groups.
- Monocotyledons (Monocots = The embryo has one seed leaf) – Grasses, sedges, lilies and orchid plant species.
- Dicotyledons (Dicots = The embryo has two seed leaves) – Trees, shrubs and herb plant species.
- Provenance – This is the original place(s) that the plant species came from.*
- Indigenous – These are the plants that occur naturally in specific location(s).
- Remnant – Locations that has native vegetation that has not been cleared.
- Viable – Are seeds that are capable/likely to germinate/grow.
- Germinate – A seed begins to grow in response to warmth and water.
- Embryo – The embryo is the rudimentary plant within a seed. When conditions are right for the seed to grow, the embryo ‘activates’ and begins germination.
- Pathogens – A bacterium, virus, or other microorganism that can cause disease.
- Decompose – The process of decaying (declining in quality… like a tooth that is decaying).
Plant Taxonomy
The science (organised system) that describes/classifies the names of living things:
*The WSBN focus is to collect seed from indigenous plant species from the Bass Coast and South Gippsland Shires. Collection sites are often on remnant bush or bush that has been revegetated from species that have the appropriate provenance.
Seed Collection:
WSBN has permits issued by a number of governing agencies including Parks Victoria to collect seed/cuttings for propagation to improve local biodiversity. These activities are supervised by Team Leaders.
Seed ID
Seed ID – The Process
It all starts with the propagating ‘material’ and for this training ‘pod’ we are focusing on ‘seeds’.
The images below show a simple interpretation of the steps that are involved from seed collection to propagation. At WSBN we have ‘skilled’ and ‘non-skilled’ Volunteers who are all valued Team members. The ‘skilled’ Volunteers are generally people who have had some botanical or horticultural formal training or people with a specific interest for things ‘botanical’. These people are our Team Leaders. We have a terrific Team and do not expect our new Volunteers without prior experience/expertise to know how to do tasks immediately. We do prefer it if you follow the instructions, but are also happy for you to question ‘why is it done like that’?
Seed ID (seed identification) is a really good example where this activity requires quite specific botanical knowledge. This training ‘pod’ is not aiming to make you an expert in Seed ID or the cleaning process… this is an overview of the process to provide some understanding of this element to Nursery activities. However in saying this, there are some tasks that you may undertake alongside a Team Leader/mentor who will guide you with your tasks. We dig a little deeper into details about the propagation process and other tasks as you move through your training ‘pods.’
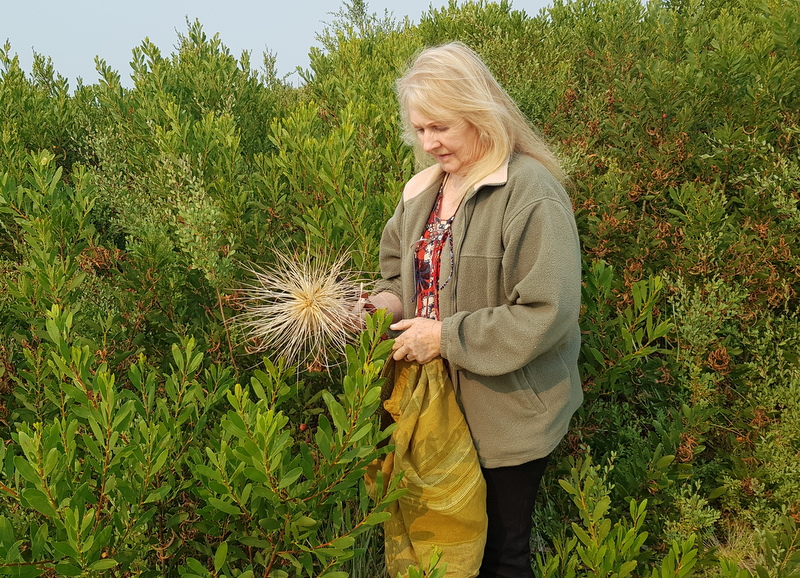
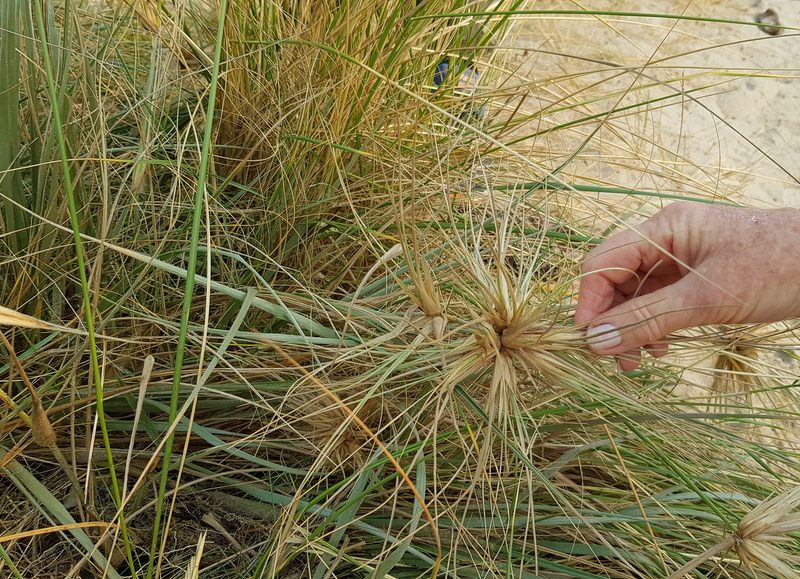
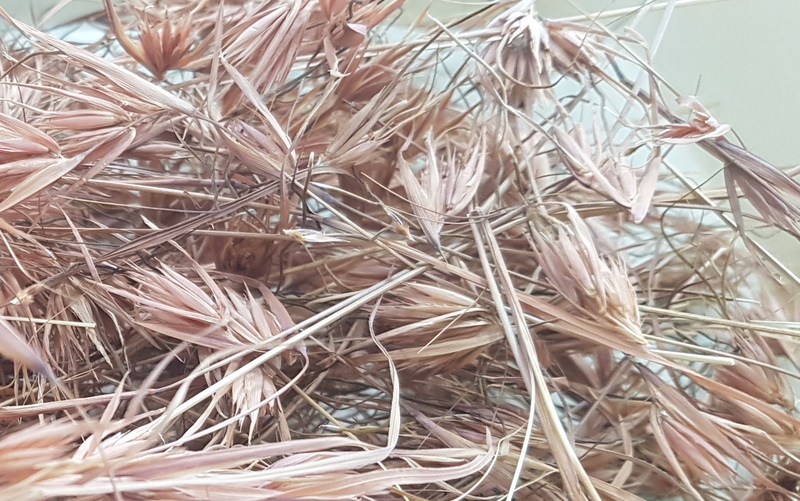
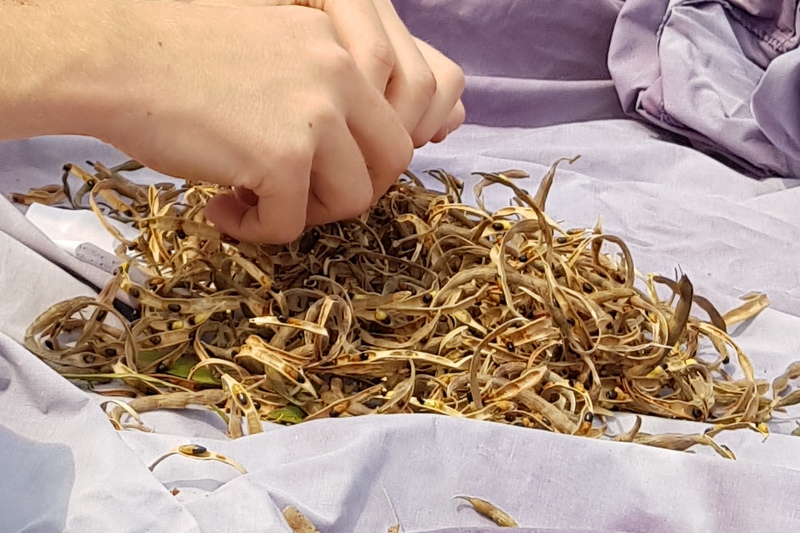
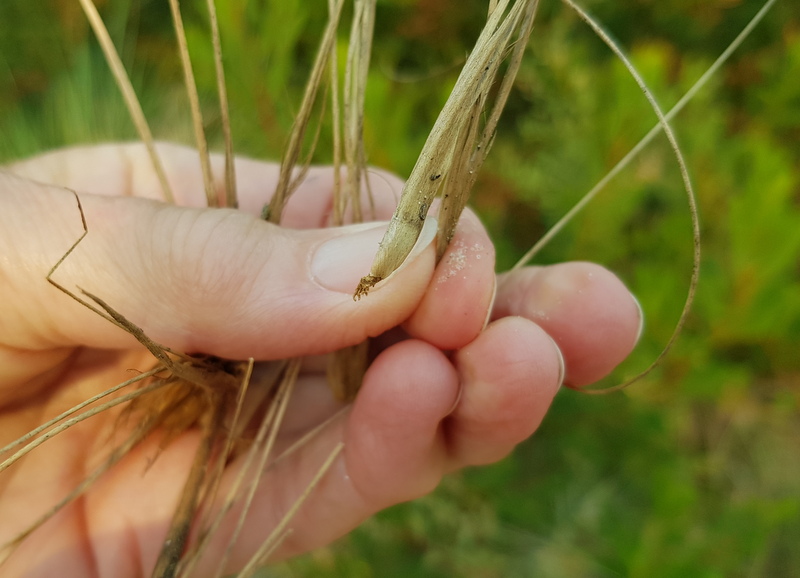
The Hairy story…
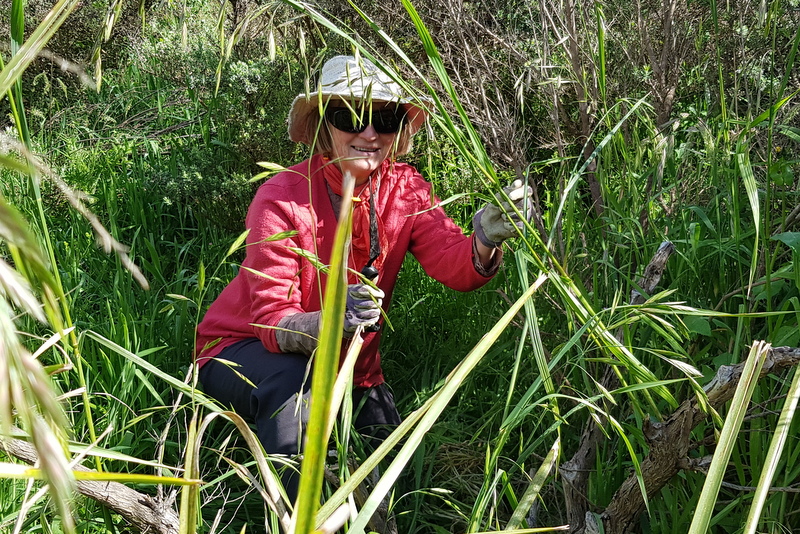
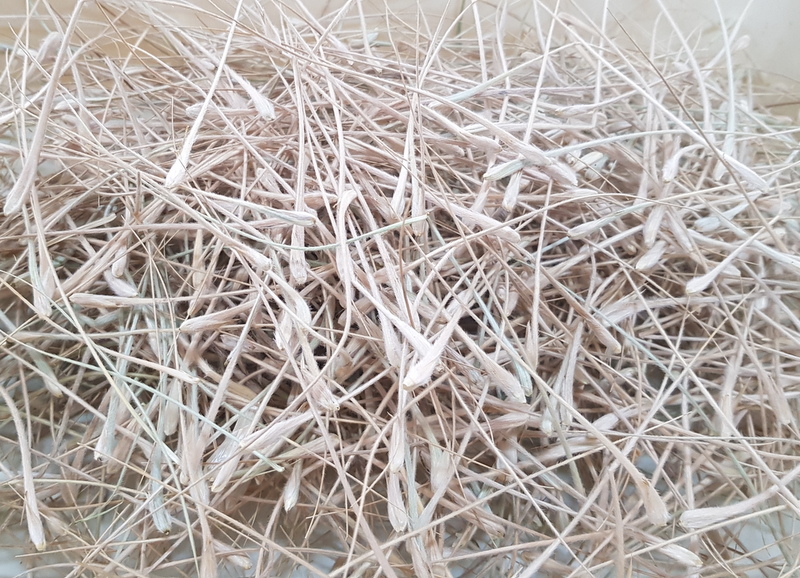
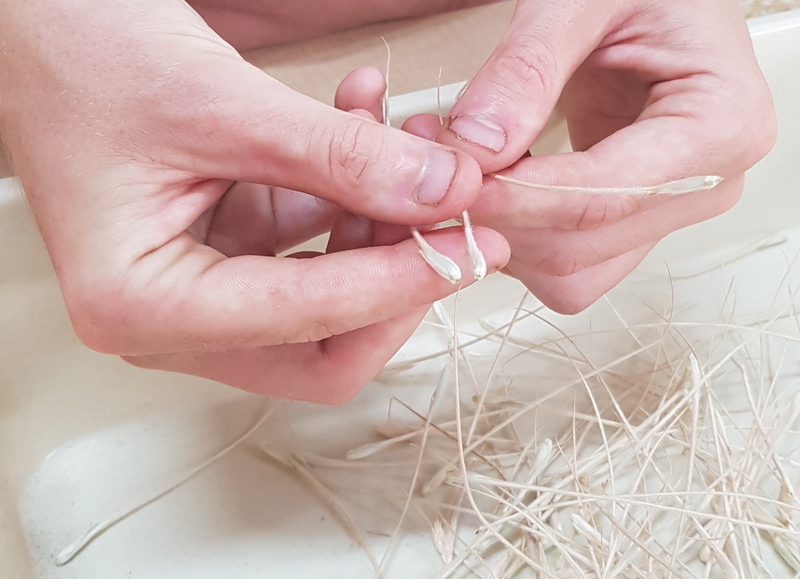
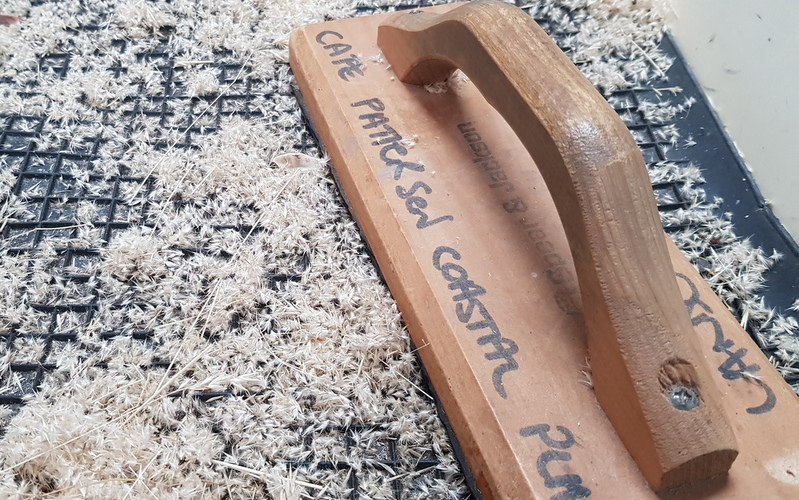
Chris is a volunteer. Chris enjoys gardening and her roles at WSBN. Chris (along with a few others from the Team) went to Inverloch on the hunt for the Hairy Spinifex plant. The Hairy Spinifex seeds were collected, dried and cleaned under the guidance of Team Leaders at the Nursery. Over the past two years the Team have been experimenting with propagation methods for this species which will be a really important early coloniser for the sand dunes around the Shire coastlines that have experienced significant erosion. This story is valuable as it is so simple and yet so challenging. Seed ID has been a critical factor for this species. Did you know that only the female Hairy Spinifex tumbles? Only the female plant that tumbles carries the seed! Being able to ID the female Hairy Spinifex was great fun!
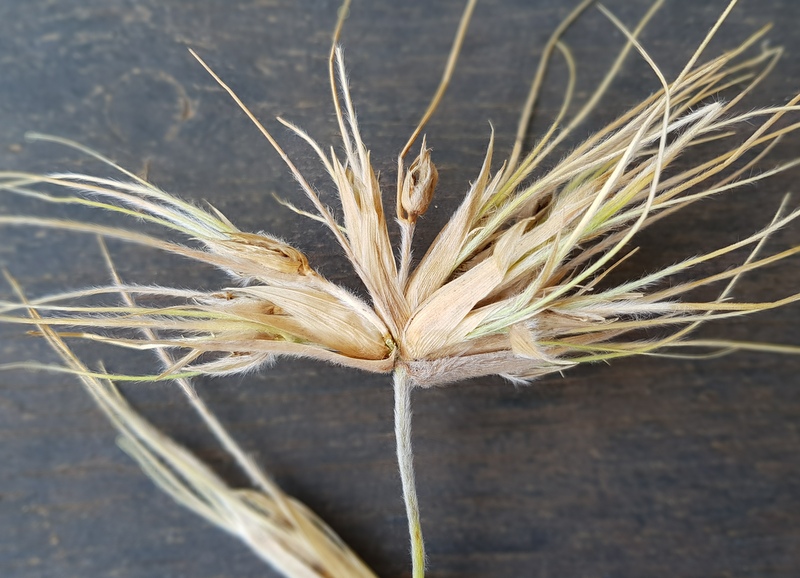
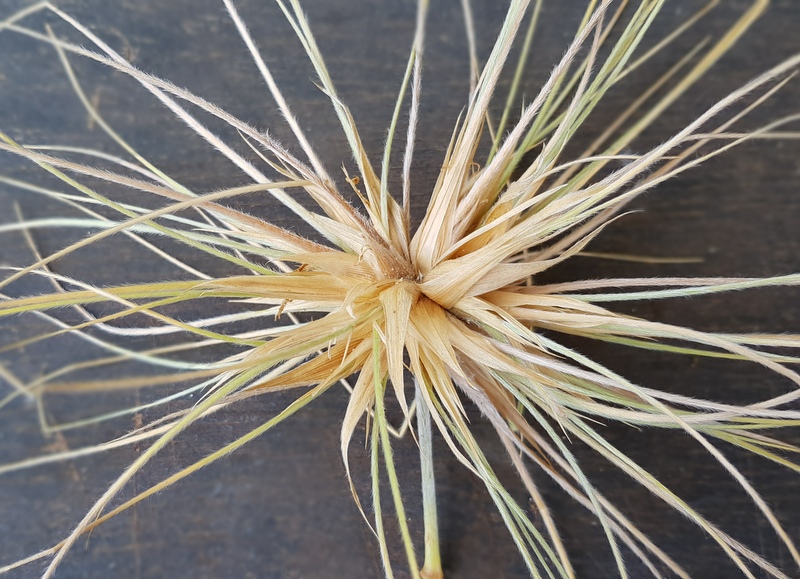
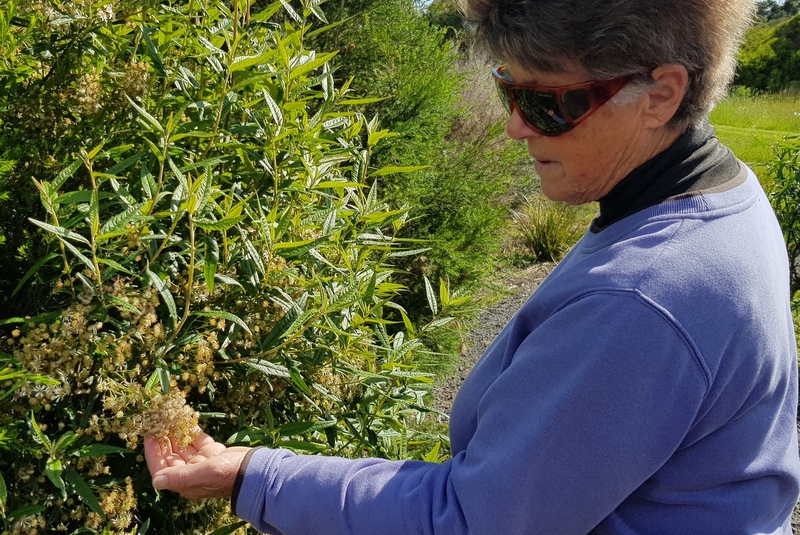
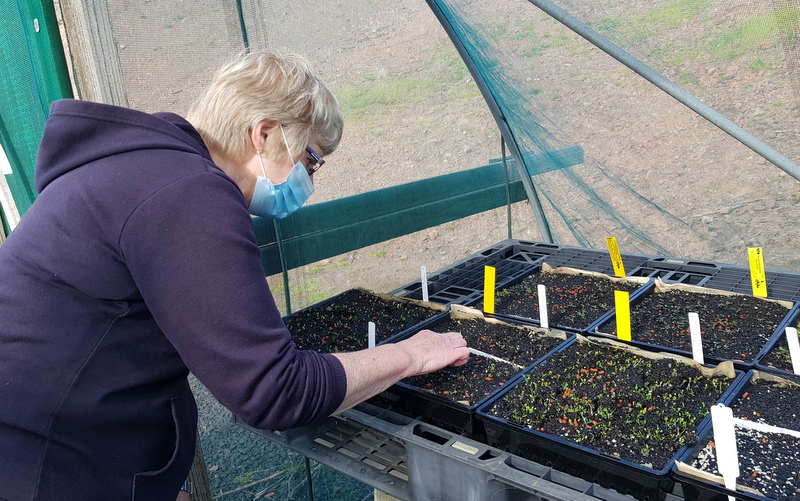
Identifying the seed species requires specific expertise:

Team members with botanical knowledge and significant experience will usually undertake the tasks associated with seed identification.
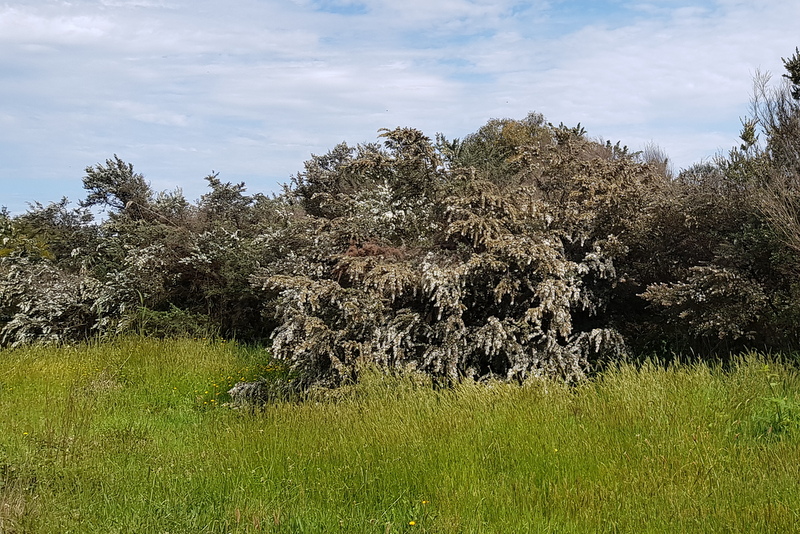
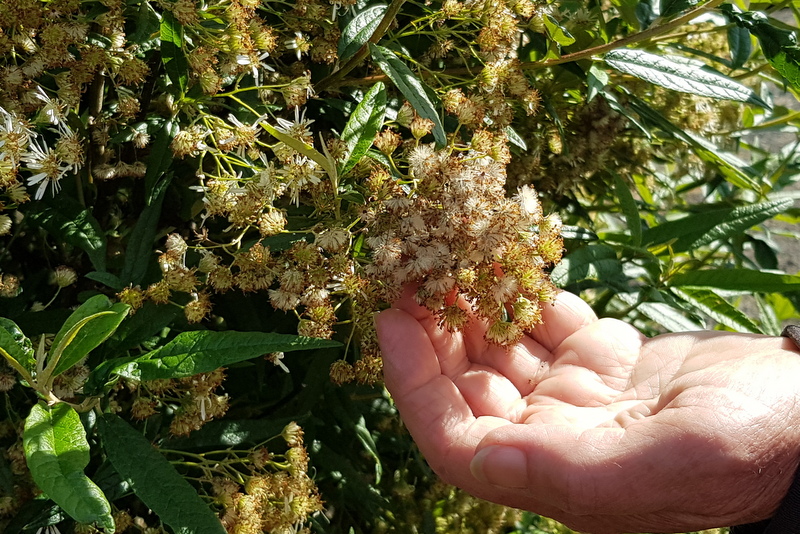
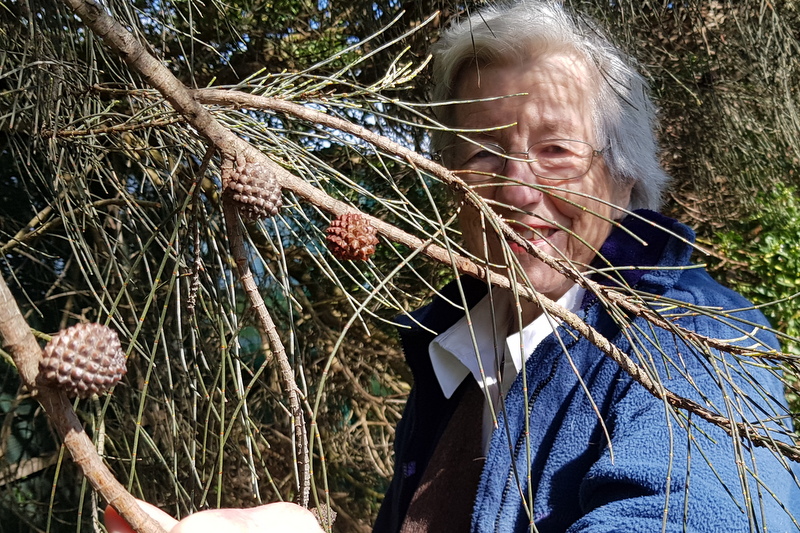
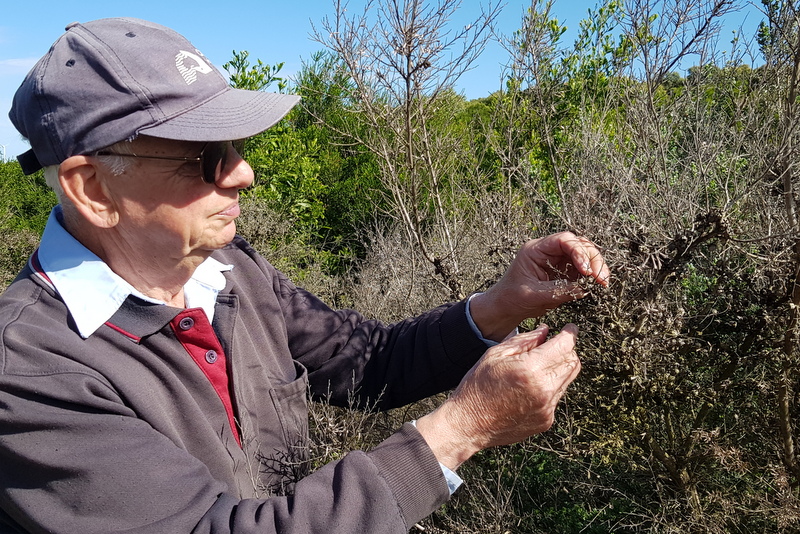
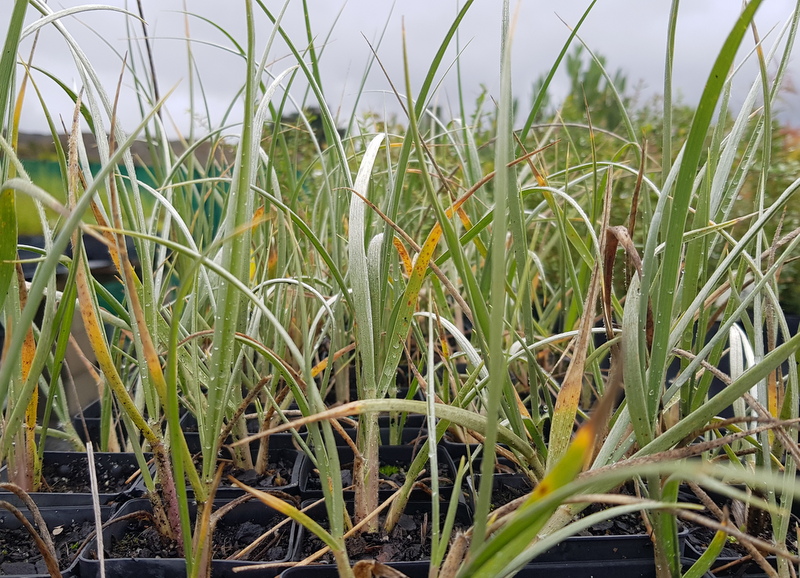
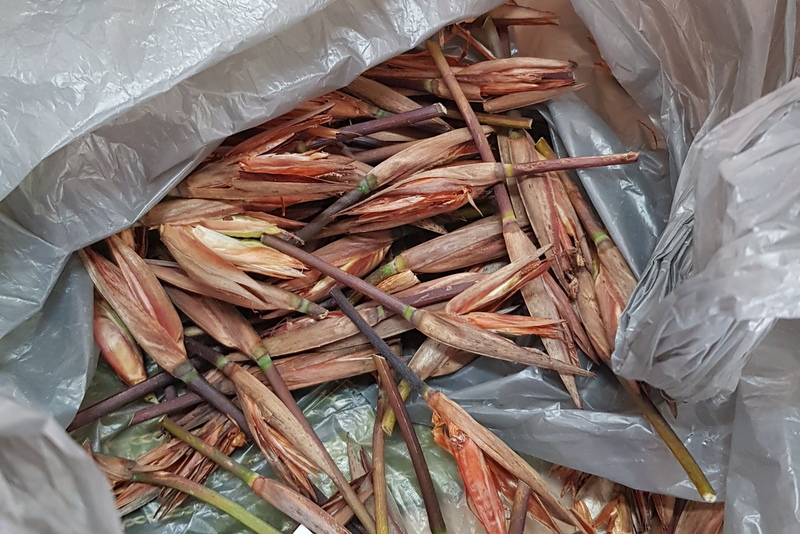
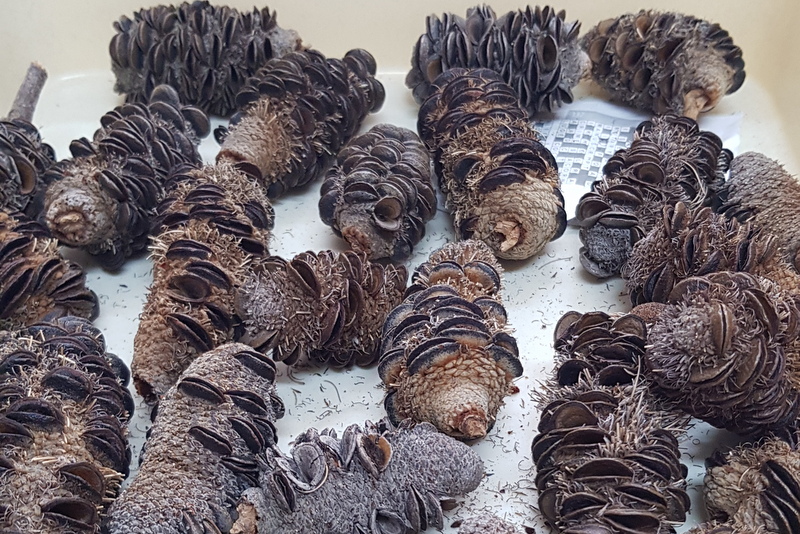
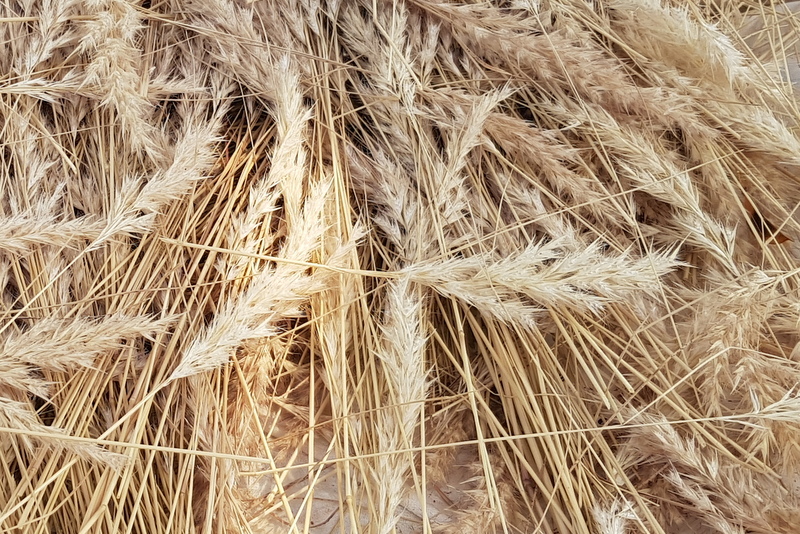
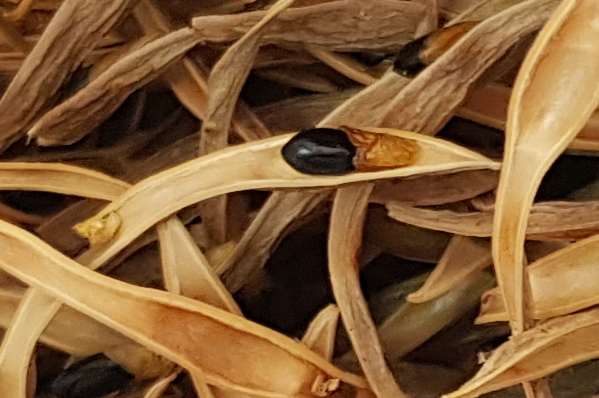
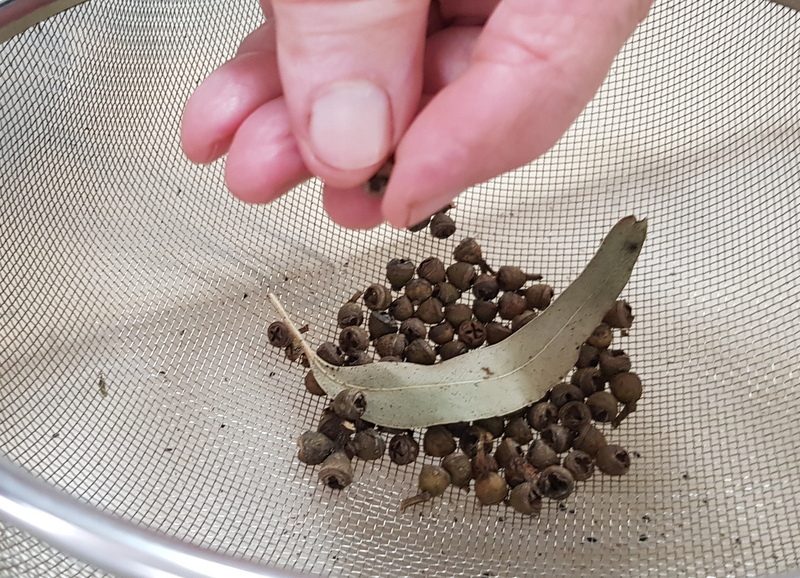
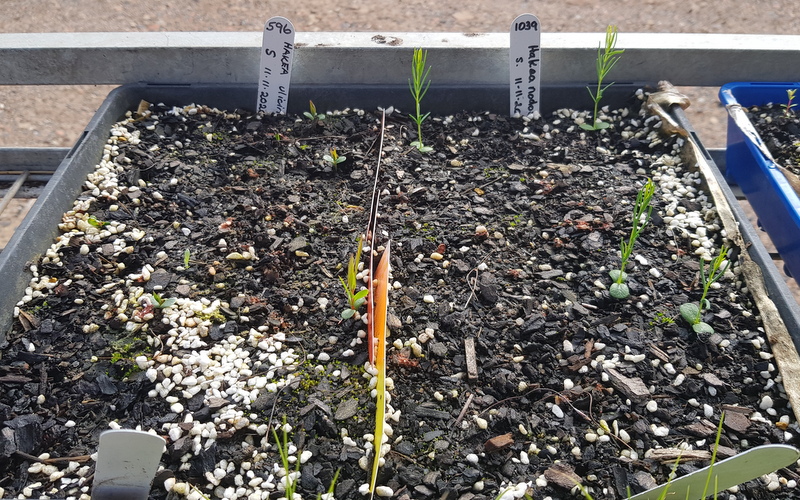
As these images show, seeds and their pods vary greatly. Our expert Seed Collection Team know the appropriate times for seed collection and where the species are found.
- QUIZ QUESTIONS: Seed ID – Can you identify any of these species?


Permit to collect seed & cuttings
We are licensed to collect species for propagation by:
- Department of Environment, Land, Water and Planning (DELWP).
- Bass Coast Shire Council (BCSC).
A Team Leader ensures that our permits are maintained current.
Seed collection
The seed is generally collected by the Seed Team on a Monday and processed by the Nursery Team on a Wednesday.
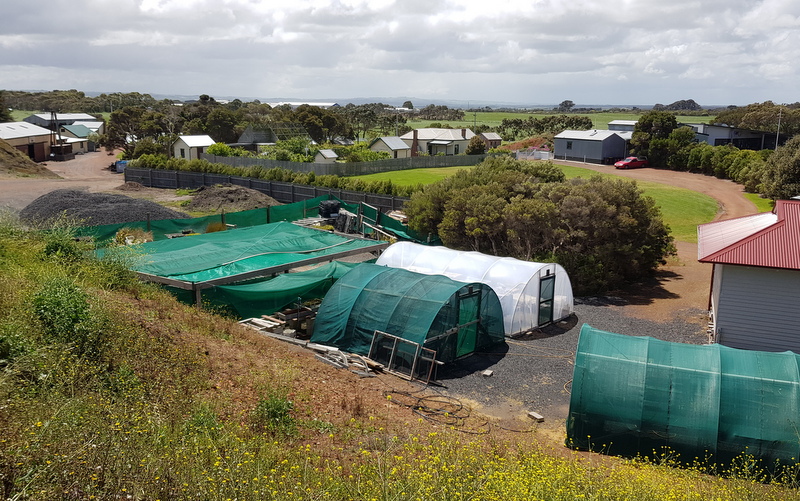
Looking about the Nursery, you will see the racks with seed cleaning equipment inside the shed and outside the plastic covered igloo (Igloo 3) used for drying the collected seed.
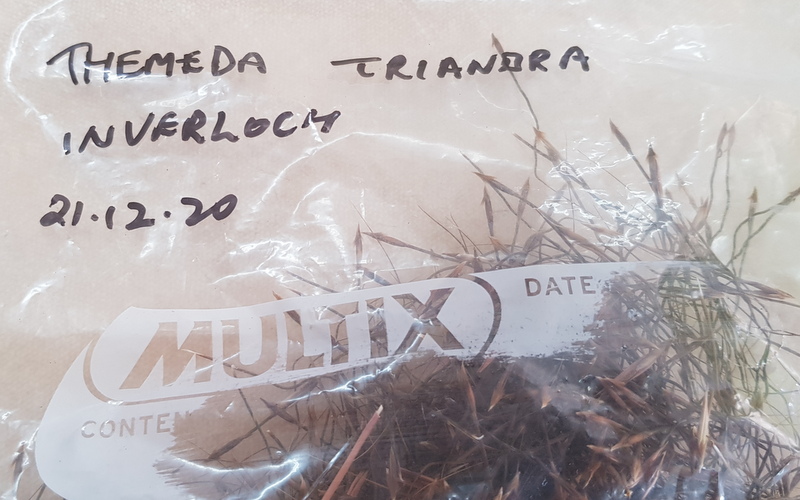
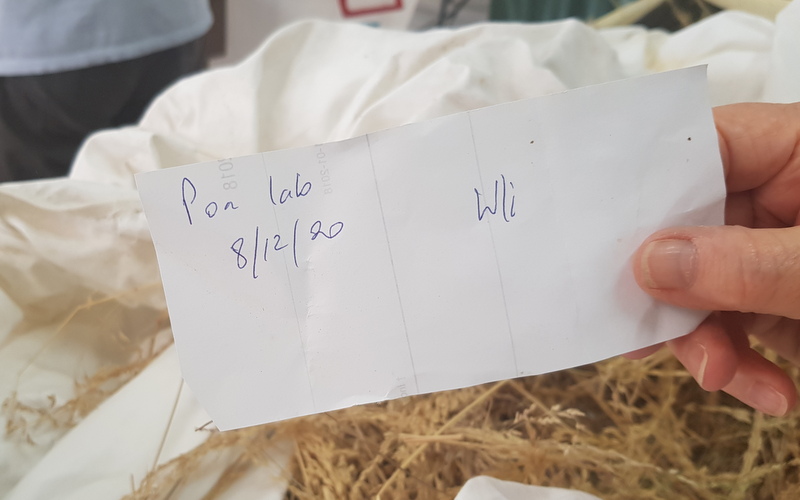
The Seed Collection Team assist the Nursery Team by storing the collected seed in a clean dry bag with a label that includes:
- The species botanical name.
- The date when collected.
- The location where collected.
- The person who collected the seed.
About seeds
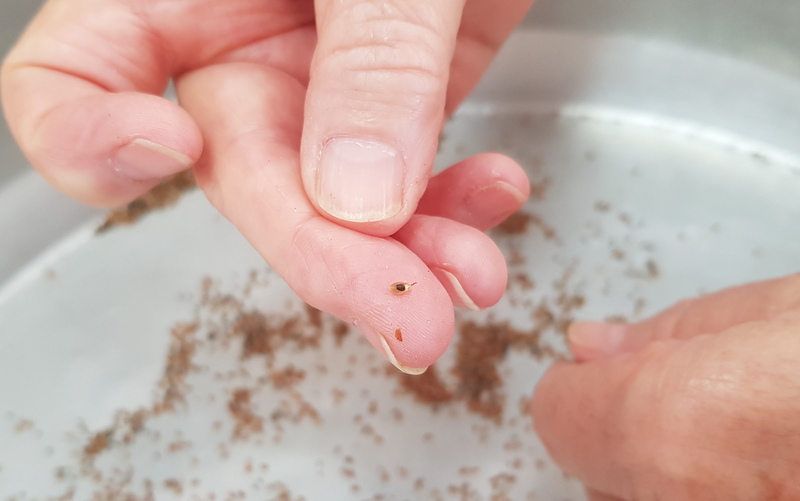
- They can be very small and sometimes it can be challenging to identify which is the seed and which is the pod/husk – this is why we buddy up with experienced Team Leaders.
- All seeds have an embryo which will grow into the plant.
- At one end is the root and the other end is the stem, which has one (monocotyledons or monocots) or more (dicotyledons or dicots) seed leaves. These are not the true leaves.
- Not all seed is viable. Some species have a naturally low viability E.g. Bedfordia arborescens – Blanket Leaf and Lepidosperma species. Viability within species can occur in collections from different areas or different seasons. Other factors impacting on viability include bad weather, insect attack or collection of immature seed. Handling during collection, cleaning and storage are all important.
- Not all viable seeds produce a vigorous seedling — it is always necessary to propagate more than needed to allow for culling of weak seedlings. Murray Ralph estimates only 1/3 to 1/2 of viable seeds will produce a healthy seedling.
Seed ID – Tips for getting it right
- Accurate labelling is critical.
- Add a piece of the species foliage and stem in with the seeds that have been collected – this can assist with seed ID.
- Ensure that the provenance is appropriate.
- Ensure that an appropriate container is used for the species of seed being collected e.g. Themeda (Kangaroo Grass) should be collected using a paper bag or plastic container rather than a pillow case, otherwise the seed embeds itself in the material.
Seed ID – What can go wrong
- Seeds are incorrectly labelled.
- Seeds have been identified correctly, but are too old for germination.
- seeds from more than one species of the same genus is collected and not adequately identified at the time of collection.
Cleaning
Cleaning – The Process
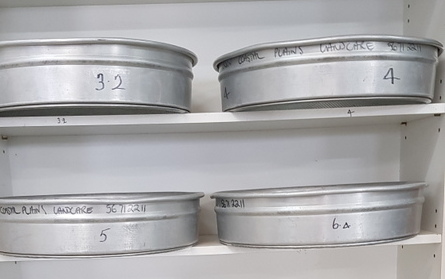
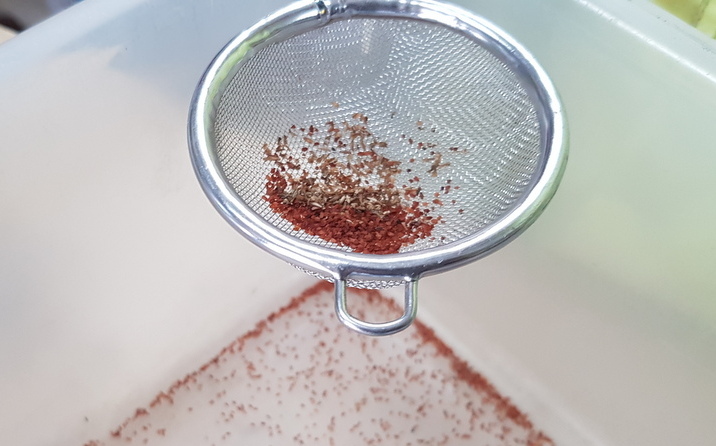
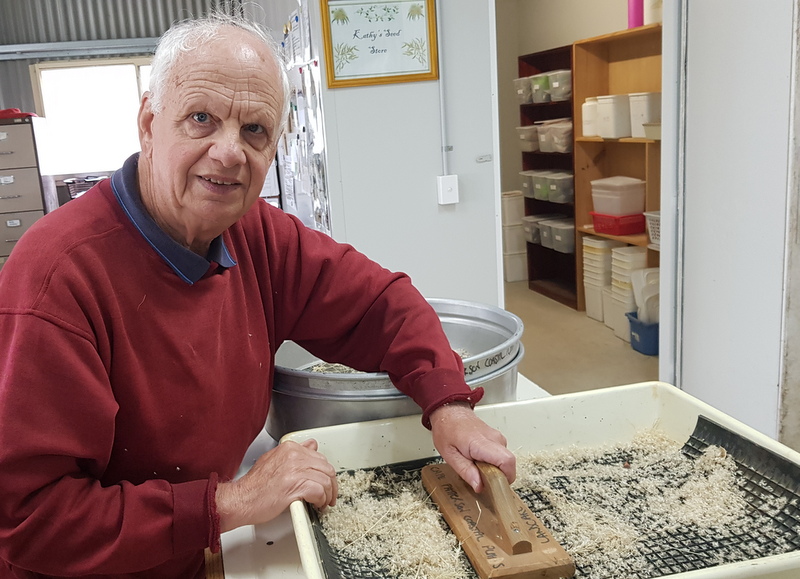
Seed cleaning will usually be supervised by an experienced Team member. The seed size and weight is considered when selecting the seed cleaning equipment. WSBN has a selection of sieves that are suited for the different types of seed that we collect.
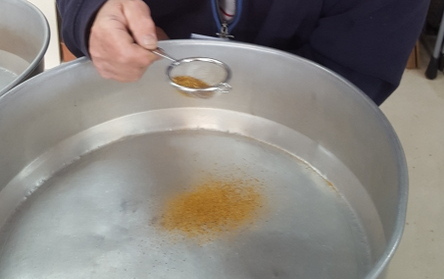
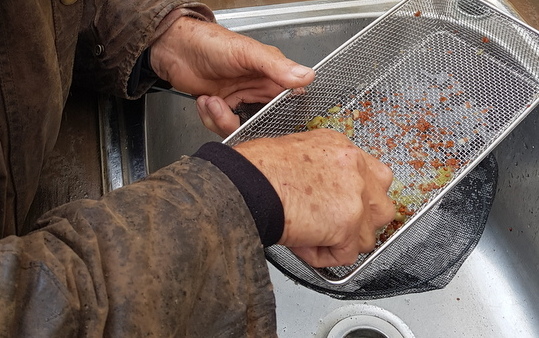
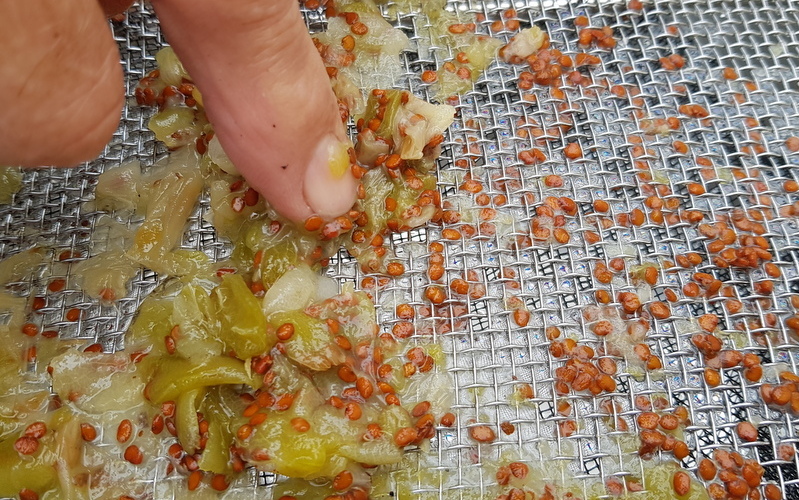
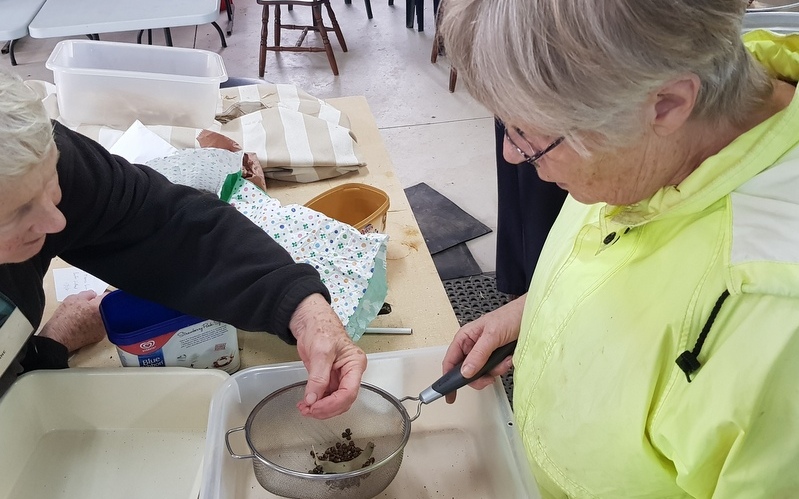
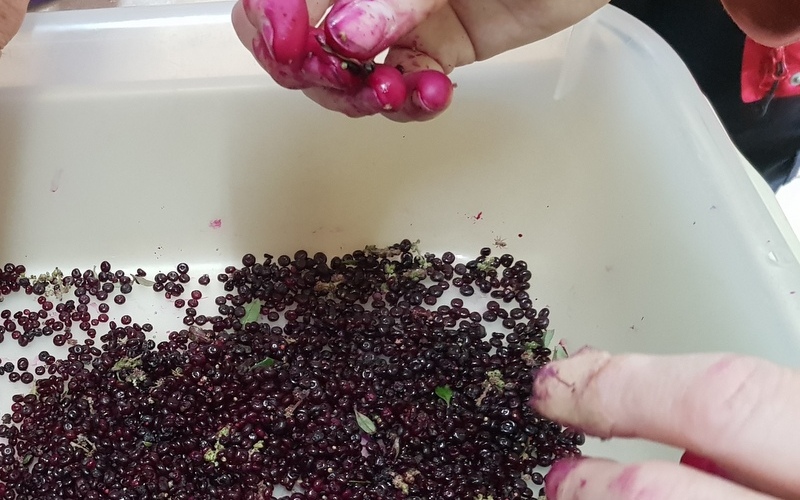
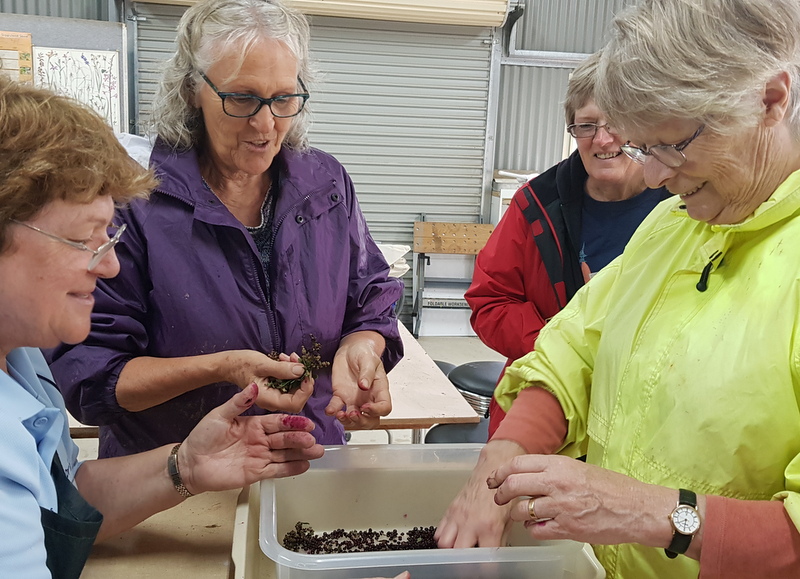
The seed is generally cleaned in steps. You may see Volunteers initially cleaning the seed, picking through the plant material to remove stalks, pods, husks, sticks or other foreign matter (insect sacs etc).
Eliminating any surplus plant matter or diseased matter at this early stage assists with seed germination.
The seed covering and seed may or may not need to be separated and there are different processes for cleaning the different species. Experienced Team members will check the seed quality for viability. You may have a role in the process for seed cleaning but be assured you will be guided along the way.
Cleaning – Tips for getting it right
- The correct cleaning procedure is followed.
- Seeds are correctly identified from other plant matter such as the husks.
- Wear PPE – Mask if the seeds you are cleaning are small or light and can be carried by any wind movement.
- Seed storage containers are clean and free from any pathogens.
Cleaning – What can go wrong
- Cleaning environmental conditions are not controlled (windy)
- The cleaning process selected damages/destroys the seed.
- Cross contamination of seed types if equipment is not cleaned between species use.
STORING
Storing – The Process
WSBN seeds are stored in our insulated Nursery Seed Storeroom until they are ready to plant. Low temperature, humidity and light level protect our seed viability and longevity. It is a place that is cool, dark and dry, protecting them from insects as much as possible.
You will see Team members working together to clean the seed and make sure that it is identified correctly, label the seed storage packets, update records and organise/store the seed in the Nursery Seed Storeroom. There are numerous roles that the Team members have and many of them are not obvious but are a critical component of the Nursery operation.
The seed is stored prior to cleaning to dry out in the outside igloo that is covered in plastic (Igloo 3). You will see this space as you walk from the Nursery shed to the Yard.
The Nursery Seed Storeroom is in the Nursery shed. If the storeroom door is open you can take a peek in from outside… but please understand that this location’s access is ONLY for Team Leaders. It is important that the room is protected from pathogens and accidental seed mishandling.
Storing – Tips for getting it right
- To avoid ‘duds’ – it is important make sure that seed is completely dry before storage.
- Store in a consistently dry cool place to avoid high temperatures and humidity. E.g. Nursery Seed Storeroom
- Store the seeds in a airtight container.
- If the seed is subject to predation (insects that eat the seeds), it should be stored with vegetable dust* (sprinkled into the ziplock bags that the seed will be stored in).
*Vegetable dust is a manufactured product kept in the chemicals cupboard in the Nursery shed that is a dual-action insecticide and fungicide.
Storing – What can go wrong:
- Moving stored seeds between different climates/temperatures etc until ready to use – transfers reduce seed viability.
- Labels with incorrect or insufficient details – the next Spring sowing season 12 months away can be a long time to remember details or track information from a Volunteer who has left.
- Rough handling or packing during storing processes can damage/crack seed coats and embryos.
Germination
Germination – The Process
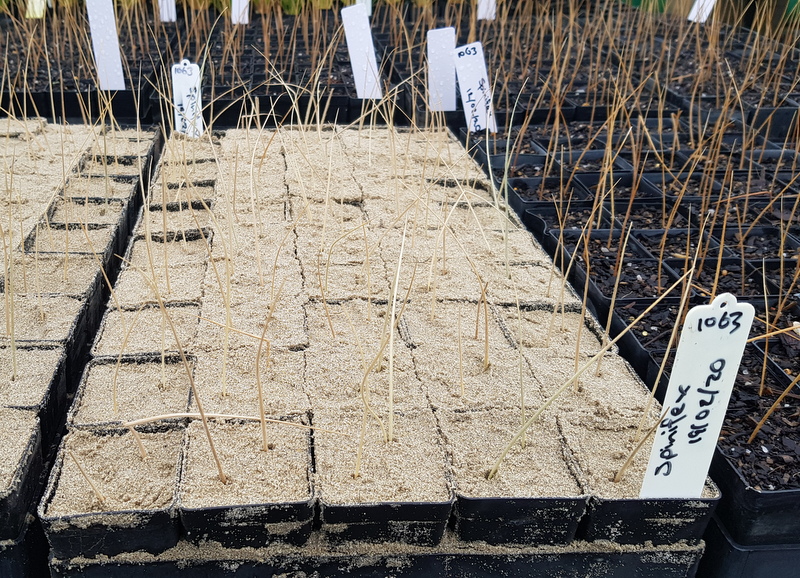
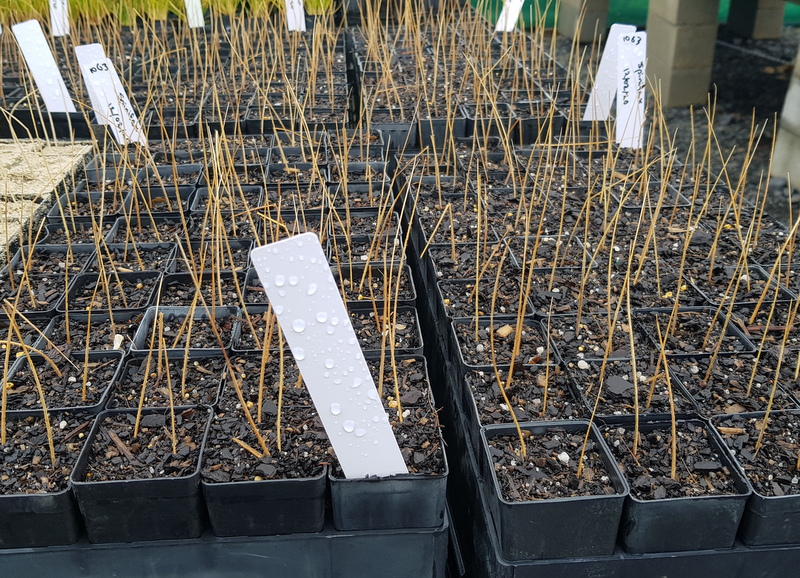
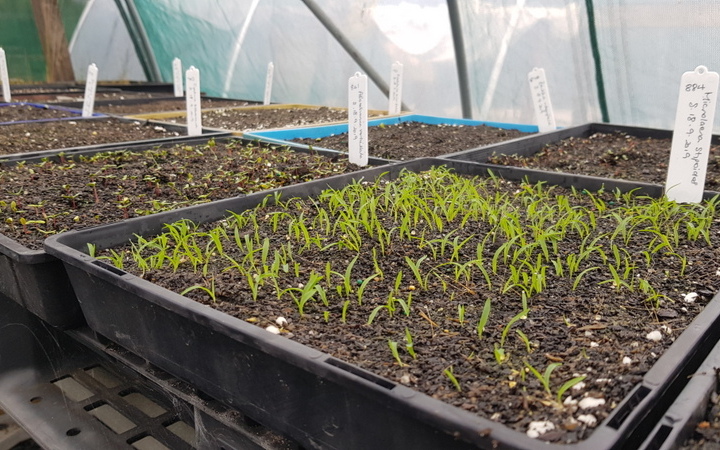
Seeds need the appropriate conditions to germinate and this differs between species. Once again, Team Leaders will supervise the method of germination to be undertaken for the different species. The seed raising trays are checked weekly (watered daily) to check the germination stage and general health of the seedlings.
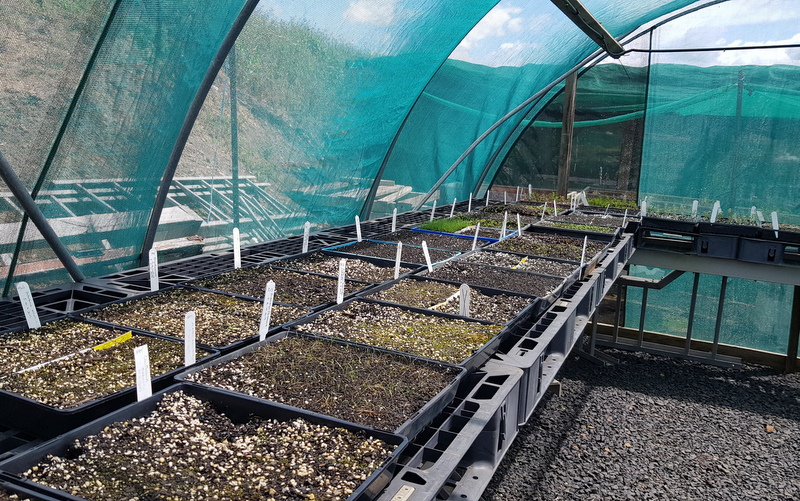
When you walk around the Nursery, look for seedling trays in Igloo 2 (The bottom right image shows the two methods that WSBN use to cover the igloos. The left hand igloo is covered with shade cloth. This allows for good airflow around the seed raising trays/seedlings with filtered sunlight. The right igloo is covered with a clear plastic. This allows for significant sunlight to help dry the seeds out and not have the wind disperse them.
We are also aware of needing rodent control for these external spaces… so be mindful of the occasional rat/mouse traps!


Seed is sown into seed trays or directly into tubes or hiko cells depending on the species. Some seed may need to be treated before sowing (E.g. Acacia seeds are soaked in hot water for a length of time before sowing, which softens the hard seed coat to enable germination).
Oxygen
Seed-raising potting media should have good aeration. Half and half propagation media and Vermiculite or Perlite is used. The exception is wetland plants that are propagated using the bog method of waterlogged soil.
Water
It is important to ensure that the potting media in the Seed-raising trays is moist (water gently to keep the propagation media within the tray if the media does not feel moist) before propagating the seed. After the seeds are sown they are sprayed (misted) gently to avoid dislodgement or push them too deep into the growing medium. Seeds must be kept consistently moist once sown. More detail regarding watering is covered further on.

WSBN has a misting wand that is ideal for watering seed-raising trays. It is an attachment that can be manually attached to the watering system in the igloo. Alternatively use a watering can with a wand attached to the nozzle. The hose can be used BUT ensure the pressure is very gentle and keep the flow of water moving across the surface of the trays to avoid flushing out any of the seedlings or cuttings. All watering is done outside to protect our table tops inside the Nursery shed as much as we can.
Temperature
All species have an optimum temperature for germination – although germination can occur outside the optimum range, it will not be as successful.
- Most species need warmth, so Spring and early Summer are the peak sowing seasons. Also need to consider when orders are required so trial and error all part of it.
- Asteraceae (daisy family need cold nights to germinate).
- Lily family require cooler temperatures — should be sown in Autumn.
Light and Dark
Different species have specific requirements for optimum germination.
- Banksias prefer equal amounts of light and dark to germinate — sow around equinox.
- The Asteraceae family needs light to germinate — surface sow.
Seed Viability
Not all seed is viable. Some species have a naturally low viability E.g. Bedfordia arborescens – Blanket Leaf and Lepidosperma species. Viability within species can occur in collections from different areas or different seasons. Other factors impacting on viability include bad weather, insect attack or collection of immature seed. Handling during collection, cleaning and storage are all important.
Not all viable seeds produce a vigorous seedling — it is always necessary to propagate more than needed to allow for culling of weak seedlings. Murray Ralph estimates only 1/3 to 1/2 of viable seeds will produce a healthy seedling.
- Some seed loses viability quickly and needs to be sown fresh — Clematis, Olearia.
- Other seed with a hard seed coat may last for many years — Acacia.
- Seed dormancy — this allows germination to occur at the most favorable time for the species.
- Hard seed coat — some species need a fire or smoke to enable the seed to germinate in nature.
- After-ripening period — the seed appears mature but requires a period of time to become viable (to allow germination at the appropriate time) — common in native grasses — E.g. Themeda.
Treatments to overcome seed dormancy
Hard seed coats – E.g. Acacia and pea family:
- Hot water treatment — this is the easiest method. Pour boiling or hot water over the seed and allow to soak for 12-24 hours. Drain off and dry the seeds (/newspaper/paper towel/clean sheet) before sowing to avoid rotting. Do not over-water the seed tray once sown.
Thick Seed Coats:
- Some E.g. Dodonaea, Fabaceae (pea) family same as above.
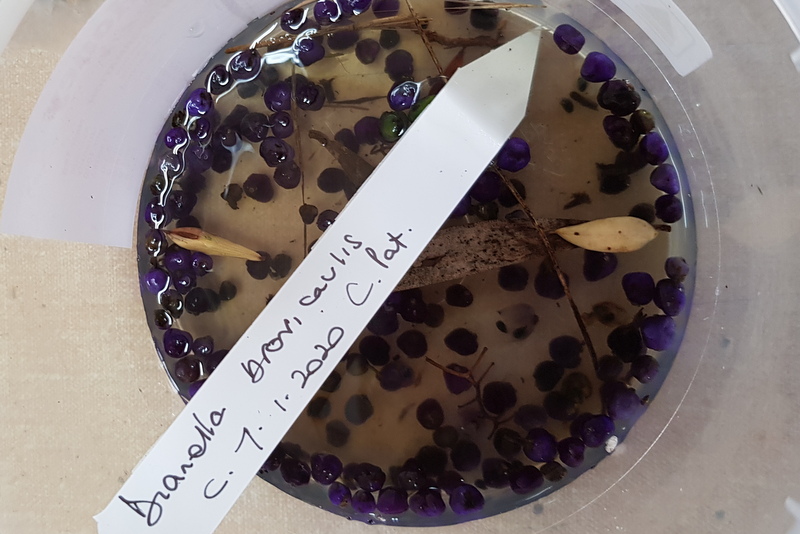
- Fleshy fruits E.g. Coprosma, place fresh fruits in a plastic bag with a small amount of water or wet soil and leave for 2-3 weeks before sowing and Solanum and Dianella, cover with water for two weeks (this allows the flesh to come away) and rinse in a sieve with running water (this further removes flesh debris).
- Seed collected in bird droppings often allows germination
Other Seed Treatments
- After-ripening – dry storage for appropriate length of time.
- Scarification — alpine species require a period of cold storage in a fridge for a number of weeks.
- Smoke treatment — we have smoke water for those species E.g. Dianella revoluta.
- Bog or wetland method
- Seeds are sown in a normal seed tray which is then placed in a larger container filled with water to 1 cm below the seed level. After two weeks, lower the water to 2-3 cm below the seeds and maintain till the seeds germinate.

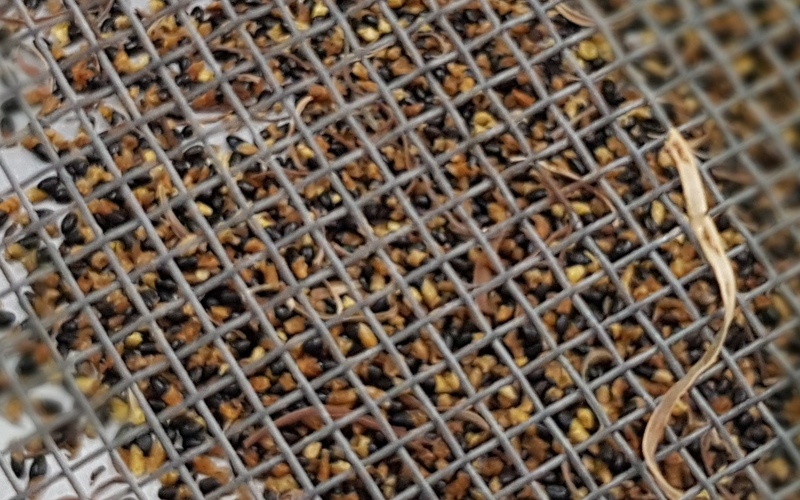
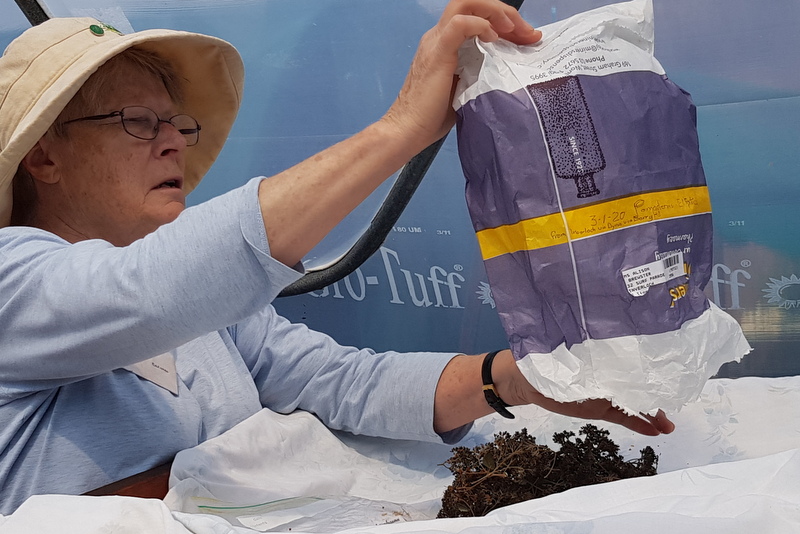
Seeds drying on racks in the igloo. You may take a peep inside BUT once again this is a space where handling is not encouraged to reduce the likelihood of introducing any pathogens to the stock.
Germination – Tips for getting it right
- Select the right method for cleaning.
- Use the correct medium that allows for fast-draining but still holds the right amount of water to keep the medium moist.
- Avoid soaking too long to prevent decomposing seed.
- Put the seeds somewhere noticeable – check seedling trays that may have to be stored on lower racks or the ground. They may need some rotation of positioning which is undertaken by our Yard Team Leader.
Germination – What can go wrong
- Inadequate watering (misting) means that the seed is unlikely to sprout.
- Too much water can rot the seedlings.
- Water temperature maybe too cold – you can fill watering can and let it come to room temperature before using for misting if it is cold.
- Seed raising trays are just not getting enough warmth to start germination.
- Using immature seeds.
- Using old seed – some may still germinate.
- Washing away seedlings by overwatering… it’s all a bit tricky!